


Introduction to Blazor
Blazor is a web framework from Microsoft that allows developers to build interactive web applications using C# and HTML. With Blazor, we can create web applications that run entirely in the browser without the need for plugins or code running on the server.
Blazor WebAssemby
Blazor uses WebAssembly to execute .NET code in the browser, meaning we can write client-side code in C# instead of JavaScript. This makes writing and maintaining code easier, as we can use the same language on both the client and server.
Blazor WebAssembly is a client-side hosting model where the entire Blazor application is downloaded to the client's browser and executed directly in the browser's WebAssembly runtime. This means that the application runs entirely on the client side and does not require any communication with the server during runtime. This hosting model is ideal for building highly interactive and responsive applications requiring minimal server communication.
Blazor Server
Blazor also supports server-side rendering, which allows developers to build web applications that can run on the server and be rendered in the browser. This can improve the performance of web applications, as the server can handle some processing and rendering.
Blazor Server is a server-side hosting model where the Blazor application is executed on the server, and the UI is rendered in the client's browser using SignalR. In this model, the client sends UI events to the server, and the server processes them and sends back the updated UI to the client. This hosting model is ideal for building applications that require real-time updates and can handle large amounts of data.
Creating a new Blazor application
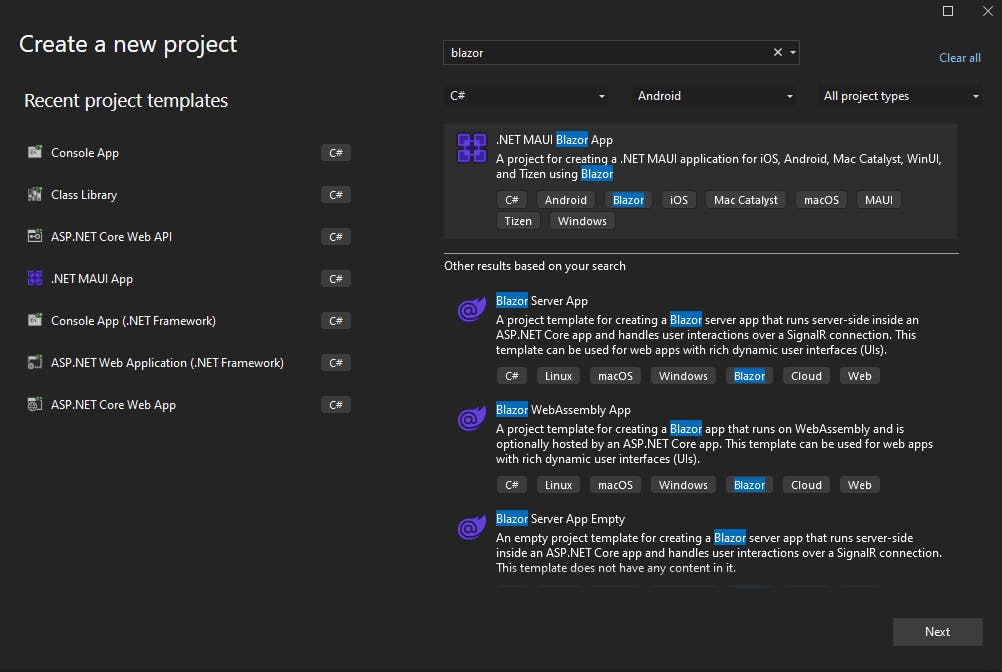
To create a new Blazor application, we can select "Create a new project" and search for blazor project templates. For this demo, we will create a Blazor WebAssembly App.
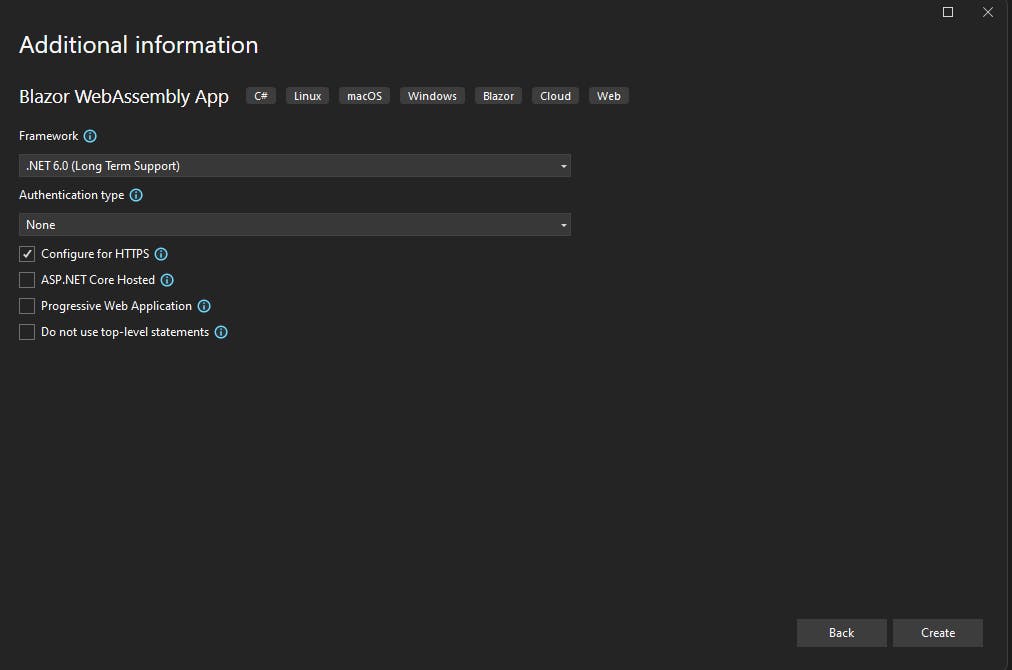
After defining the name and location of the project, another window will be displayed where we can choose some configurations.
One of these configurations is ASP.NET Core Hosted. It is a project template in Visual Studio that provides a solution structure for building a Blazor application hosted on the server side. This template includes three projects: a client project, a server project, and a shared project.
We will only check the Configure for the HTTPS box for this demo.
Once the application is created, we can start building the UI and adding functionality to the application. We can use C# to write the client-side and server-side code and HTML and CSS to create the UI. We can also use third-party libraries and frameworks to enhance the application's functionality and appearance.
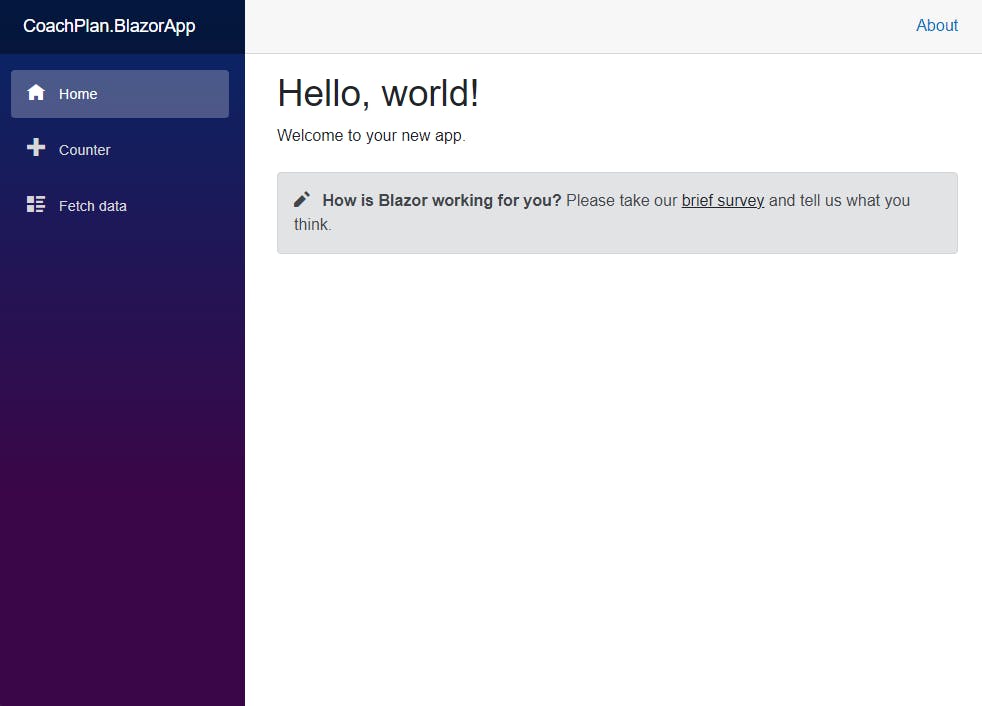
The following image shows the default layout of the Blazor App.
Understanding the Blazor project structure
When the Blazor application is created, it will have a project structure that includes several folders and files. Here's a brief overview of the most important files and folders in a Blazor project:
App.razor: is a special Razor component in a Blazor application that serves as the application's root component. It is the entry point for the application and is responsible for rendering the UI of the application. It contains a
Routercomponent that handles navigation within the application._Imports.razor: is a special file in a Blazor application that defines global namespace imports for the application. It is located in the project's root directory and is automatically created when a new Blazor application is created. Any namespace added to this file will be available for use in all Razor components in the project. This can be useful for reducing the amount of code required to import namespaces in each component.
Pages: This folder contains the Razor components that define the UI of the application. Each Razor component is a combination of HTML and C# code that defines a part of the UI.
Shared: This folder contains Razor components that can be used across multiple pages in the application.
wwwroot: This folder contains static files that will be served to the client, such as HTML, CSS, and JavaScript files.
Program.cs: This file contains the application's services and middleware configuration.
Creating a basic Blazor component
The FetchData.razor page lists the weather forecast reading the data from a JSON file. Let's create a new Blazor component that calls an API's endpoint to get the data.
Service
To call the API, let's create a service responsible for that. First, we will add a folder called Services in the Blazor project and then create the MuscleService class that will implement the interface IMuscleService, defined in the Domain project of the solution.
public class MuscleService: IMuscleService
{
    private readonly HttpClient httpClient;

    public MuscleService(HttpClient httpClient)
    {
        this.httpClient = httpClient;
    }

    public async Task<IEnumerable<GetMuscleDto>> GetAll()
    {
        return await httpClient.GetFromJsonAsync<GetMuscleDto[]>("/muscles");
    }
}
The class is receiving the HttpClient by injection so that the API calls can be made using it.
To configure the base address of the API, the following code will be added to the Program.cs file of the Blazor project.
builder.Services.AddHttpClient<IMuscleService, MuscleService>(client =>
{
    client.BaseAddress = new Uri("https://localhost:7218/");
});
Blazor component
Inside the folder Pages, let's add a new blazor component called Muscles.razor.
In this component, we will use the IMuscleService to get the data and show it inside an HTML table.
The following code shows the complete code of the component.
@page "/muscles"
@inject IMuscleService muscleService

<PageTitle>Muscles</PageTitle>

<h1>Muscles</h1>

@if (muscles == null)
{
    <p><em>Loading...</em></p>
}
else
{
    <table class="table">
        <thead>
            <tr>
                <th>Id</th>
                <th>Name</th>
            </tr>
        </thead>
        <tbody>
            @foreach (var muscle in muscles)
            {
                <tr>
                    <td>@muscle.Id</td>
                    <td>@muscle.Name</td>
                </tr>
            }
        </tbody>
    </table>
}


@code {
    private IEnumerable<GetMuscleDto>? muscles;

    protected override async Task OnInitializedAsync()
    {
        muscles = await muscleService.GetAll();
    }
}
Let's discuss some of the elements used in this component.
@page is a directive in Blazor that defines a Razor component as a page in the application. When a Razor component is marked with the @page directive, Blazor will generate a URL for the component, which will be accessible via that URL.
@inject is a directive in Blazor that is used to inject services into a Razor component. When we use the @inject directive, Blazor will automatically create an instance of the specified service and make it available in the component.
@code is a directive in Blazor that is used to define the C# code for a Razor component. Using the @codedirective, we can define C# code directly in the Razor component without creating a separate code-behind file.
OnInitializedAsync is a lifecycle method in Blazor called when a component is initialized. This method is called after the component has been constructed and all its dependencies have been injected before it is rendered. We can use the OnInitializedAsync method to perform any initialization tasks that the component requires, such as loading data from a server or initializing state variables. The OnInitializedAsync method has an asynchronous signature, which means it can perform asynchronous operations such as making HTTP requests.
Now, let's add a new menu item in NavMenu.razor file that will call the new blazor component that we created.
        <div class="nav-item px-3">
            <NavLink class="nav-link" href="muscles">
                <span class="oi oi-list-rich" aria-hidden="true"></span> Muscles
            </NavLink>
        </div>
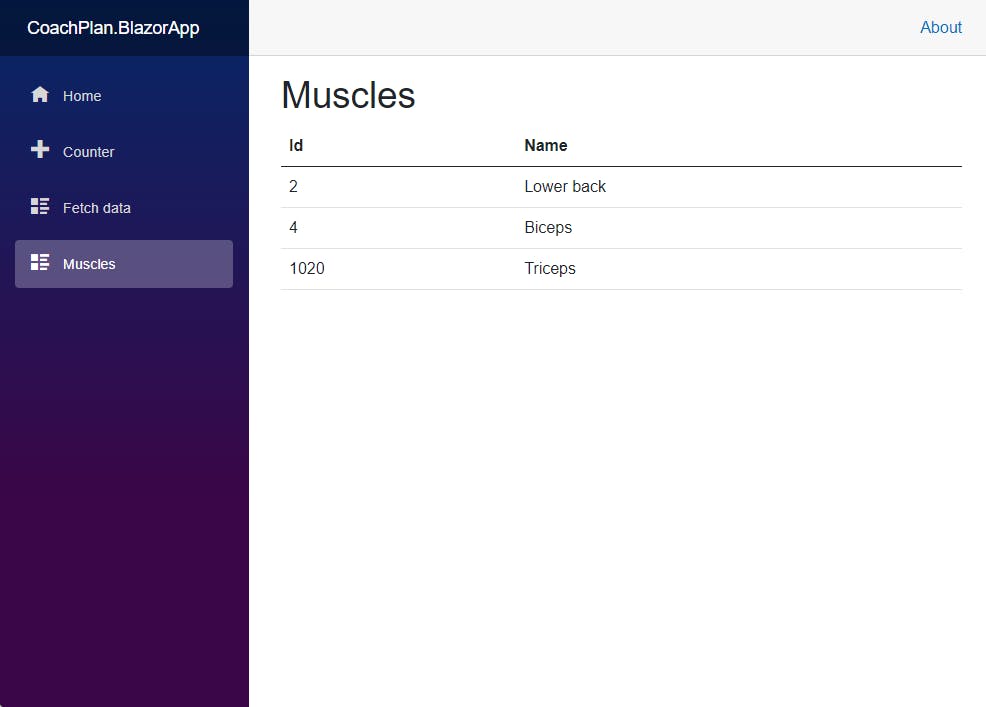
We can see the new menu item and open the new page by running the application.

Wrapping Up
This was the first part of building the first blazor application. Next, let's add a popup page and do some refactoring in the code.
You can find the complete code on my GitHub.